LINKS
Get Exclusive CC & Quality Setting Here : https://payhip.com/QualityCCLab
GET EXCLUSIVE FREE TWIXTOR CLIPS
Get Anime Clips Raw For Free: https://twixtorclips.com/anime-raw-clips/
Exclusive Twixtor Clips For Free: https://twixtorclips.com
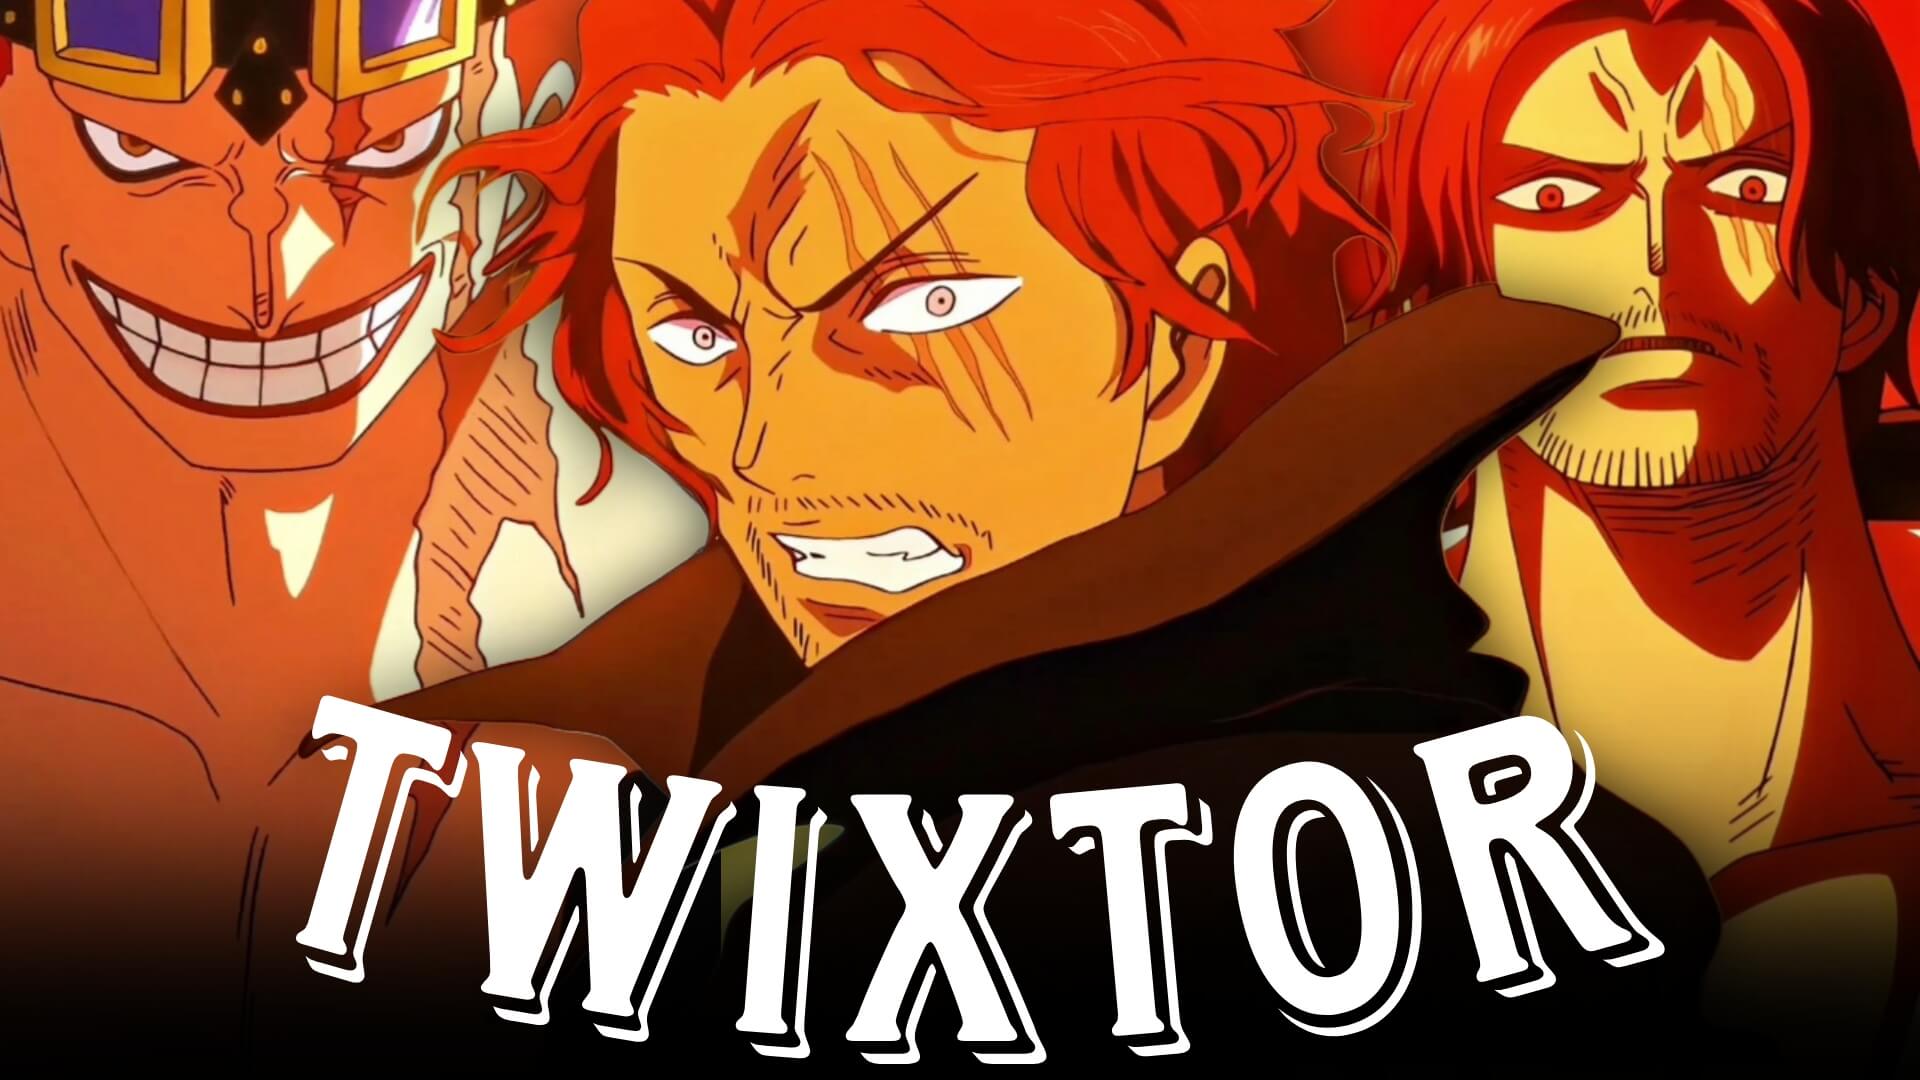
Shanks vs Kid Twixtor: Best One Piece Fight Scenes for Edits
The Shanks vs Kid Twixtor battle is one of the most talked-about moments in One Piece. Featuring breathtaking animation, overwhelming Haki, and one of the fastest finishing attacks in the series, this confrontation quickly became a favorite among anime editors. Whether you’re creating an AMV, TikTok edit, Instagram Reel, or YouTube Short, the fight delivers cinematic visuals that are ideal for Twixtor and velocity editing.
This guide explores the best Shanks vs Kid Twixtor scenes, explains why they’re perfect for editing, and shares practical techniques to help you create smooth, professional-quality anime edits.
Why Shanks vs Kid Is Perfect for Twixtor
A great Shanks vs Kid Twixtor edit combines fast-paced action with cinematic storytelling. The battle features exceptional animation, dramatic camera work, and powerful Haki effects that look incredible when enhanced with carefully applied slow motion.
Editors love this fight because it includes:
- Divine Departure attack
- Advanced Conqueror’s Haki effects
- High-speed sword movement
- Cinematic camera angles
- Emotional character reactions
- Movie-quality animation
These qualities make it one of the best modern One Piece fights for Twixtor edits.
Best Shanks vs Kid Scenes for Twixtor Editing
Shanks’ Future Sight
The battle begins with one of Shanks’ most impressive demonstrations of Observation Haki.
Best editing moments include:
- Shanks sensing the future
- Calm facial expressions
- Character close-ups
- Dramatic camera zooms
- Red Haki aura
Editing Tip:
Slow down the Future Sight sequence before transitioning into the attack to build anticipation.
Divine Departure
Shanks’ signature attack is the highlight of the battle.
Perfect scenes include:
- Sword draw
- Haki activation
- Dash toward Kid
- Divine Departure slash
- Massive impact
These moments are ideal for cinematic slow motion and beat drops.
Kid’s Damned Punk Preparation
Before the clash, Kid prepares one of his strongest attacks.
Highlight:
- Magnetic energy buildup
- Weapon formation
- Determined expressions
- Visual effects
- Dynamic camera movement
Using these clips creates excellent tension before the decisive strike.
The Aftermath
The conclusion of the battle features dramatic storytelling and stunning visuals.
Focus on:
- Character reactions
- Explosion effects
- Ship destruction
- Environmental shots
- Final cinematic angles
These scenes provide a powerful ending for AMVs.
Editing Tips for a Smooth Shanks vs Kid Twixtor
Creating a polished Shanks vs Kid Twixtor requires precise timing and scene selection.
Use High-Quality Source Footage
Modern One Piece animation contains fine details that benefit greatly from high-resolution footage during frame interpolation.
Apply Twixtor Strategically
Reserve slow motion for:
- Future Sight
- Sword draw
- Haki activation
- Divine Departure
- Final impact
This creates stronger emphasis on the battle’s most iconic moments.
Synchronize With Music
Excellent synchronization points include:
- Future Sight reveal
- Sword unsheathing
- Divine Departure release
- Explosion effects
- Final impact
Matching these scenes with beat drops creates cinematic edits that captivate viewers.
Keep Effects Balanced
The original animation already contains incredible lighting, Haki effects, and camera work. Avoid excessive glow or heavy transitions that reduce visual clarity.
Color Grading Ideas
Enhance your Shanks vs Kid Twixtor with cinematic grading.
Popular styles include:
- Crimson Haki highlights
- Dark cinematic contrast
- Warm sunset tones
- High-contrast battle grading
- Soft film grain
A consistent grade helps unify your edit while emphasizing Shanks’ Haki effects.
Common Mistakes to Avoid
When editing a Shanks vs Kid Twixtor, avoid:
- Overusing slow motion
- Too many transition effects
- Excessive camera shake
- Poor beat synchronization
- Low-quality source clips
A clean edit with strong pacing often has the greatest impact.
Why This Battle Is a Favorite Among Anime Editors
The confrontation between Shanks and Kid perfectly captures what makes modern One Piece animation so exciting. The combination of overwhelming Haki, cinematic direction, and lightning-fast action creates an unforgettable editing experience. Shanks’ calm confidence contrasts beautifully with Kid’s aggressive determination, allowing editors to tell a compelling story in just a few moments.
A well-crafted Shanks vs Kid Twixtor edit highlights the speed of the action while preserving the dramatic tension that makes this battle one of the most memorable scenes in the series.
FAQ
What are the best Shanks vs Kid scenes for Twixtor edits?
The most popular scenes include Shanks’ Future Sight, Divine Departure, Kid’s Damned Punk preparation, and the battle’s explosive conclusion.
Why is Shanks vs Kid popular for anime edits?
The fight features outstanding animation, Advanced Conqueror’s Haki effects, cinematic camera work, and one of the fastest finishing attacks in One Piece.
How can I make my Shanks vs Kid Twixtor smoother?
Use high-quality footage, apply Twixtor to scenes with clean movement, synchronize major attacks with your soundtrack, and avoid excessive visual effects.
Final Thoughts
A memorable Shanks vs Kid Twixtor edit combines smooth slow motion, cinematic pacing, and carefully timed music synchronization. By emphasizing Future Sight, Divine Departure, and the dramatic conclusion of the battle, you can create an edit that showcases one of One Piece‘s most iconic modern fights.
For more One Piece editing inspiration, explore our guides on Shanks Twixtor, Zoro Twixtor, Luffy Gear 5 Twixtor, Aokiji Twixtor, and Whitebeard Twixtor.